
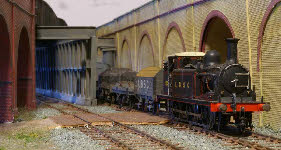

A selection of drawings and photos of trackwork.
 Left -
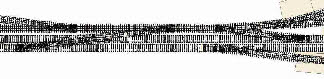
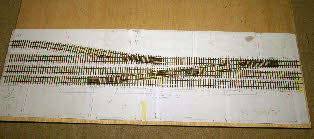
 the complete final track-plan (after many iterations) as drawn in Templot.
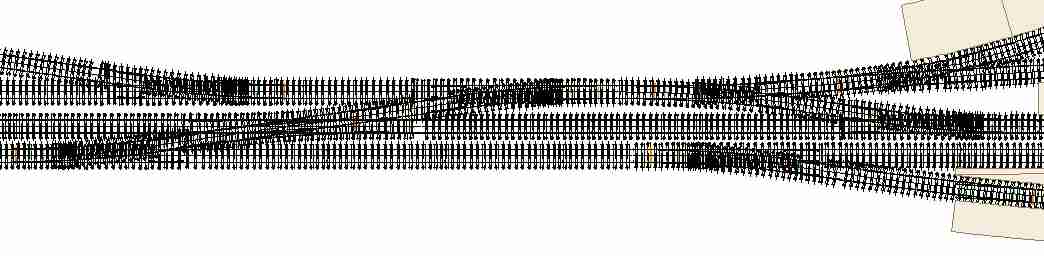
 Right -
 a detail of the yard throat, with detailed amendments to the standard Templot template- interlaced sleepering, short wing rails etc typical of the ‘Brighton’ around 1900.
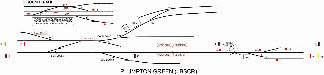
Left - the final signal diagram, showing the two added components from the real thing - the brickworks siding (top left) and the bay platform (bottom), both added to give a little more operational interest to the model. The main diagram shows lever numbers for the signal cabin, and the inset shows the levers for the ground frame.

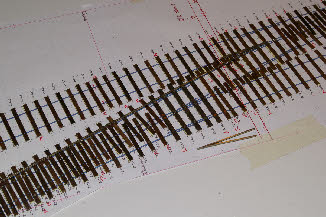
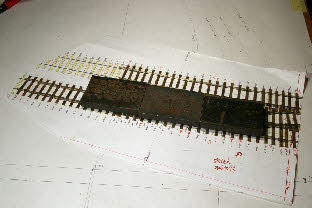
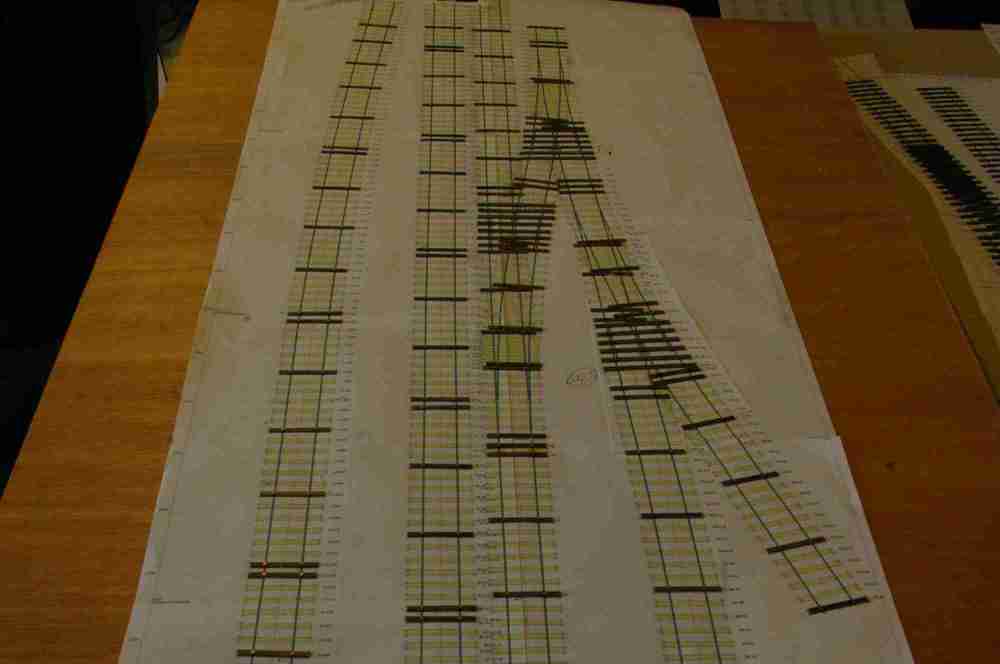
Right - printing out the Templot pages and joining them together takes a while. On this photo some of the plywood sleepers are in place - all the riveted ones where the rails will be soldered. All the intermediate sleepers will use glued functional chairs. This technique provides robust trackwork which can be adjusted or repaired, but is also reasonably quick to build.
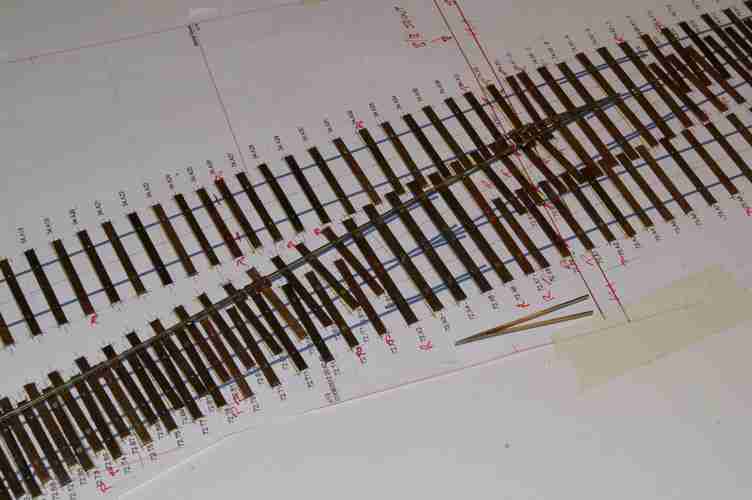
Left - completed sleepering for the turnouts in the goods yard, with the first of the rails soldered in place.
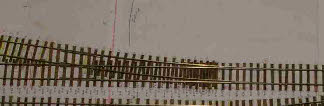
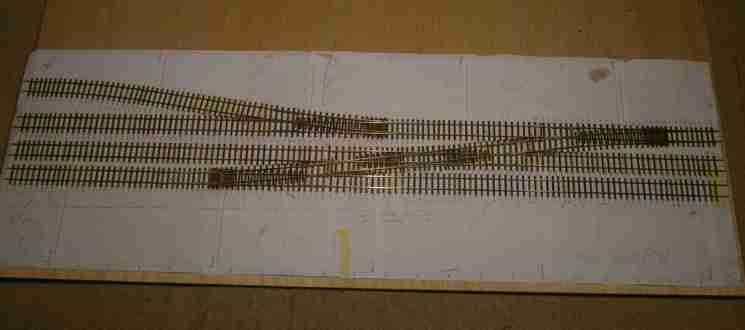
 Right -
 completed trackwork for the yard throat, two crossovers with the single slip in the middle.
 Left -
 detail of the turnout into the brickworks siding, showing the interlaced sleepering, something not achievable other than with hand-made track.
 Right -
 gluing plastic chairs to plywood sleepers may not seem like a good idea, but in fact works quite well. Some heavy duty solvent (Butanone works well) with heavy weights on top until the solvent dries, provides enough mechanical bonding to holding the chair in place, but not so much that it can’t be lifted, adjusted and re-bonded if needed.
 Left -
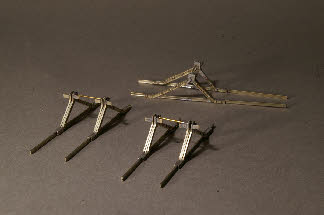
 typical Brighton-style buffer stops, hand-built from rail, awaiting painting and the addition of the timber beam.
 Right -
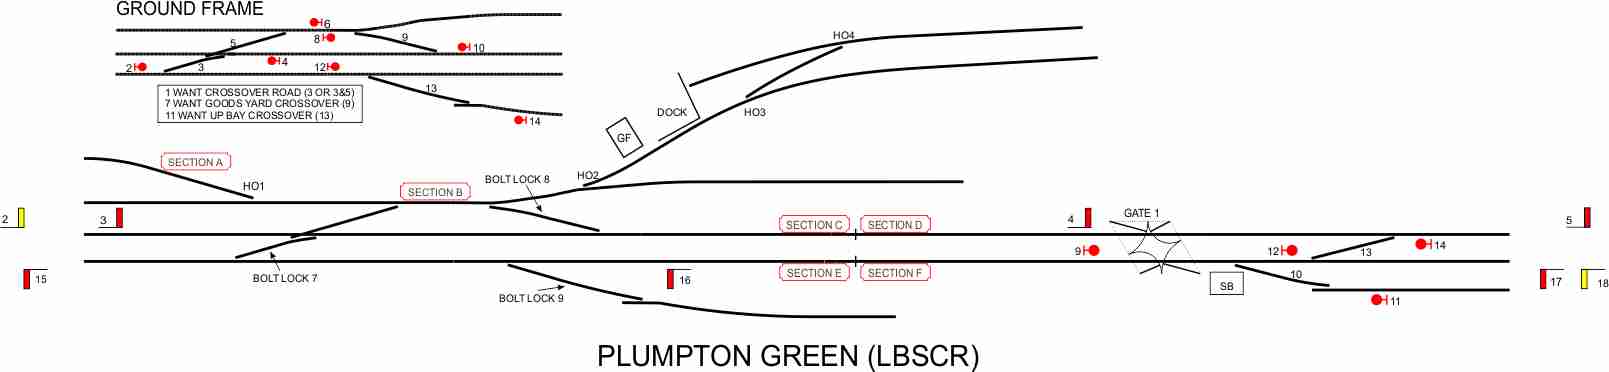
Left -
Right -
Left -
 Right -
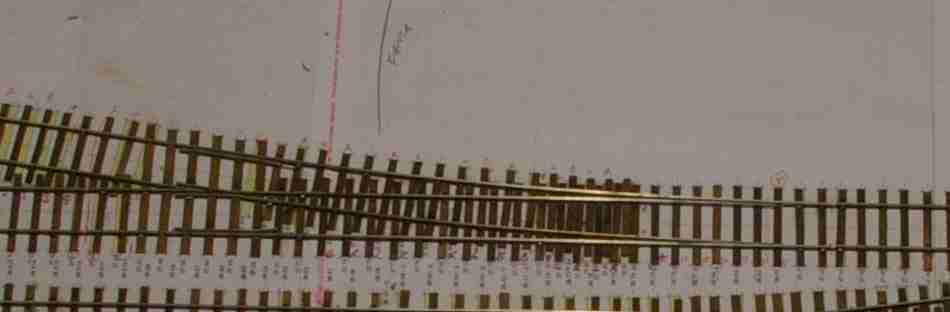 Left -
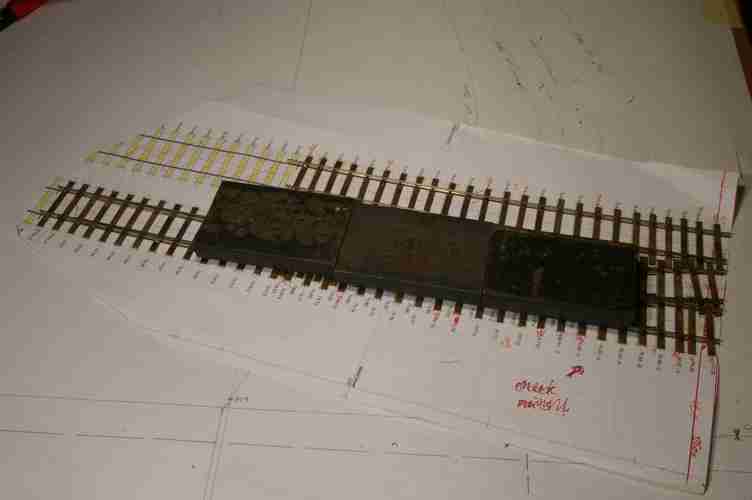 Right -
 Left -