
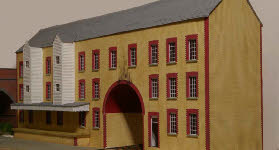


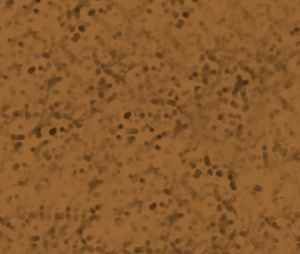
 The next stage is to create the basic brick colour for your building. For the mess hut I want a stock brick, which is typically very varied in colour. Figure 3a shows my attempt at this. The area shown is enough to cover one wall of the building, in other words, will eventually print at about 50 by 60mm. If you're using a single colour brick (plain red-
We can now start assembling the various bits of the drawing. The key features which we need to use in the paint software are:
|
·
|
The use of 'layers' or 'objects' in a drawing. This enables us to put different parts of the drawing, one on top of the other. If the object is small, it will only obscure part of the layer underneath. If the object is large, it might cover all the layer underneath, but it is possible to make parts of the top layer transparent, so that selected areas of the underneath layer can be seen. Layers can be moved up or down (i.e. on top or underneath, or anywhere in between).
|
|
·
|
The ability to select and edit any one of the layers, without affecting the others.
|
|
·
|
The ability to 'switch off' any layer so that is invisible.
|
|
·
|
The ability to select any part of the drawing, and either edit this or protect it from being edited. This process is usually referred to as creating a 'mask'.
|
|
·
|
Areas can be selected for editing either by drawing a shape (rectangular, ellipse, irregular) or selected by colour.
|
The first thing is to understand how your software deals with each of these. There are no doubt many ways of creating a drawing like this -
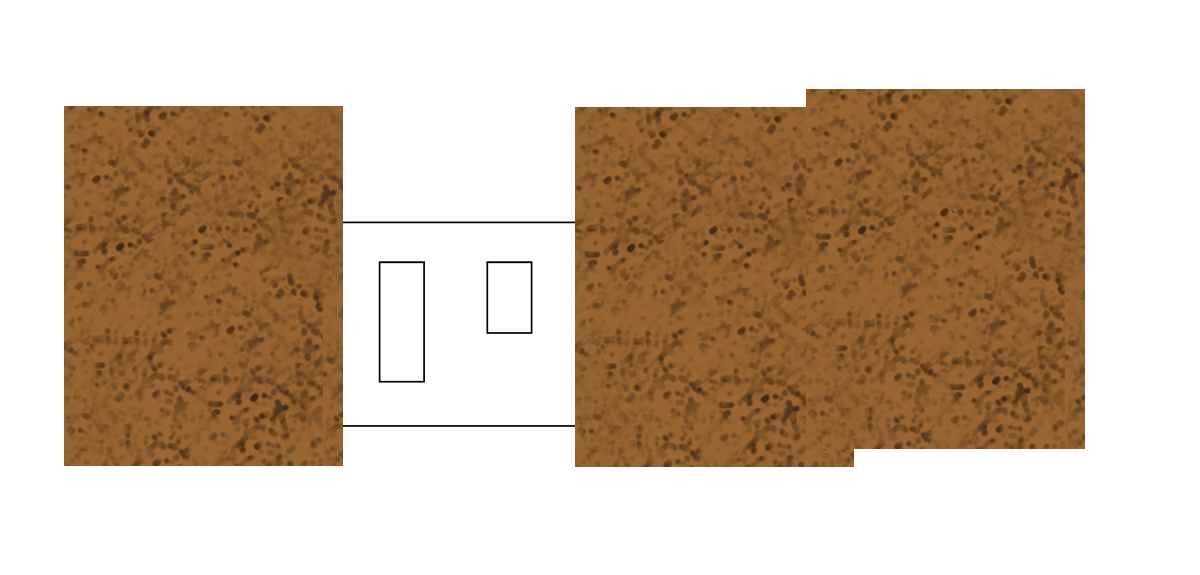 The first thing is to open your drawing of the outline of your building, and select and copy this to a new drawing (make sure the new drawing is 600dpi). This should create the first layer in the new drawing. The next stage is to copy and paste the background brick colour onto this same drawing. My method is cut and copy four separate bits, one to cover each wall. Copying and pasting these into the new drawing will create four new objects, each of which will obscure your outline. Figure 3b shows three bits of brick colour pasted into the new drawing. When you have copied all four you need to bring the outline to the top of the drawing, which will in turn obscure the brickwork.
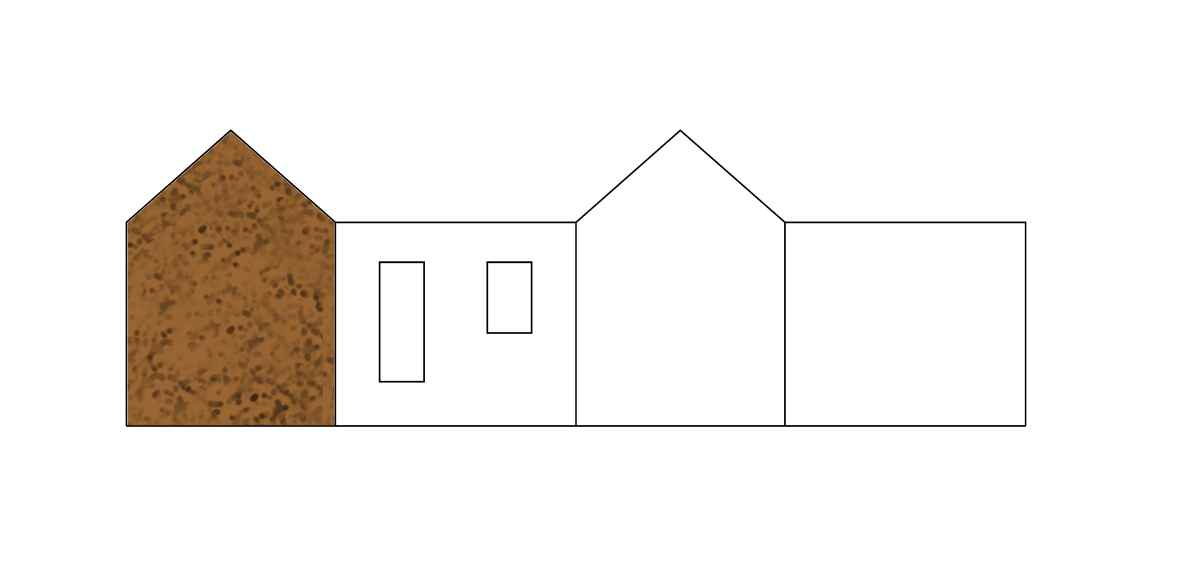
 You then need to select the area inside one of the walls -
Having done this, you can then make your selection transparent -