
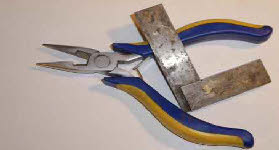

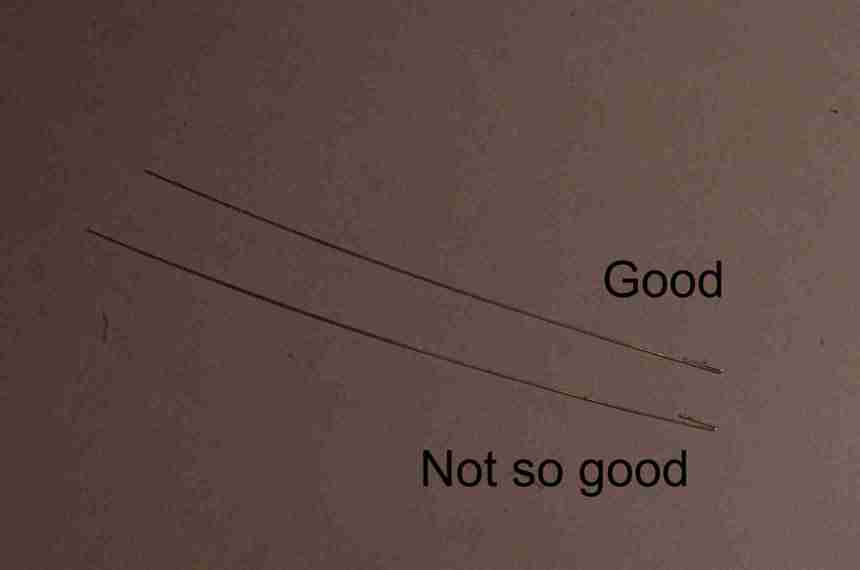
 If this bend doesn’t close up fully in the jig, it’s worth taking the AJ out of the jig and giving it an extra nip using two pairs of pliers, as in the photo on the left, so that the bend is complete (see the two examples -
 For the second bend I revert to jig A. The larger (shallower) hole is used to make the second bend. The depth of the hole dictates the length of the ‘nose’ of the AJ, and the angle is bent freehand to 30deg. This sounds a bit tricky and unreliable, but after a few attempts becomes a lot easier. The cone at the top of the jig is at 30deg, and is a guide for this second bend. Jig B incorporates etched guidelines for checking the angle, and if it’s not quite right it can be adjusted with the aid of a small pair of pliers.
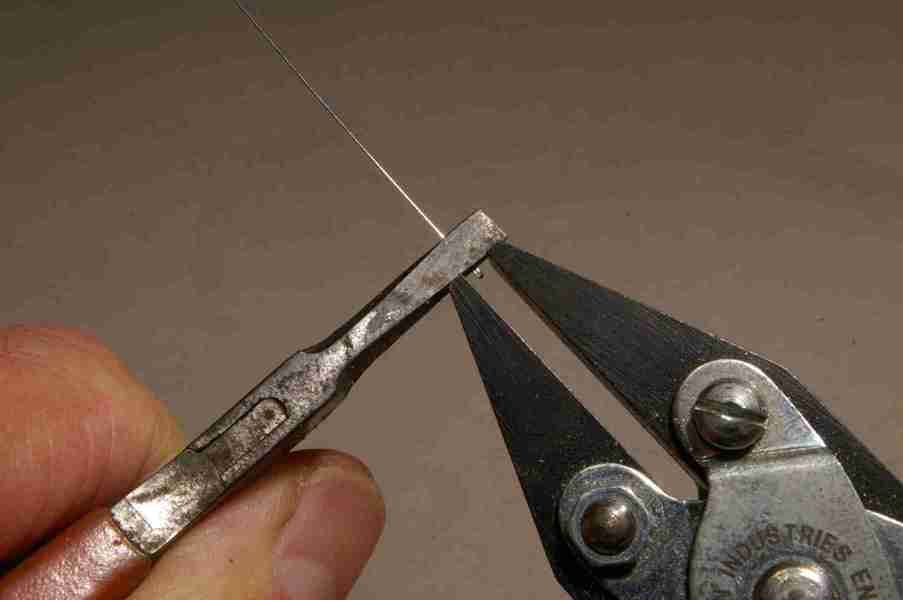
 The third bend can also be made in Jig A, but with a bit of practice is easier freehand, holding the coupling in a pair of pliers, and using a thumbnail to make the bend. The fourth bend is perhaps hardest to get right, and although jig C has an ingenious solution to the problem, it doesn’t quite work for me. As with the third bend, I hold the coupling in a pair of pliers, and use a thumbnail to make the bend.
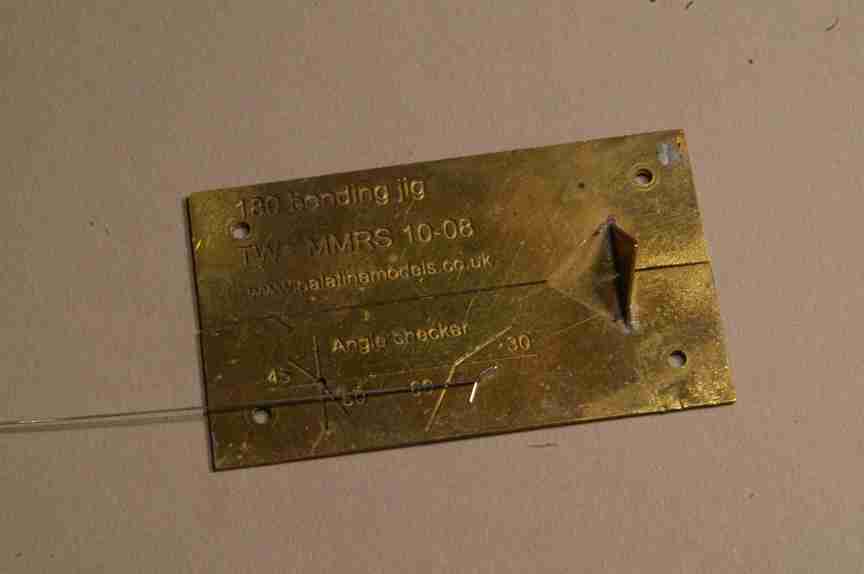 The most important thing is to check the finished product against the two etch guidelines on jig B, and if it’s not quite right, adjust it (or throw it away!).
 Fitting the couplings
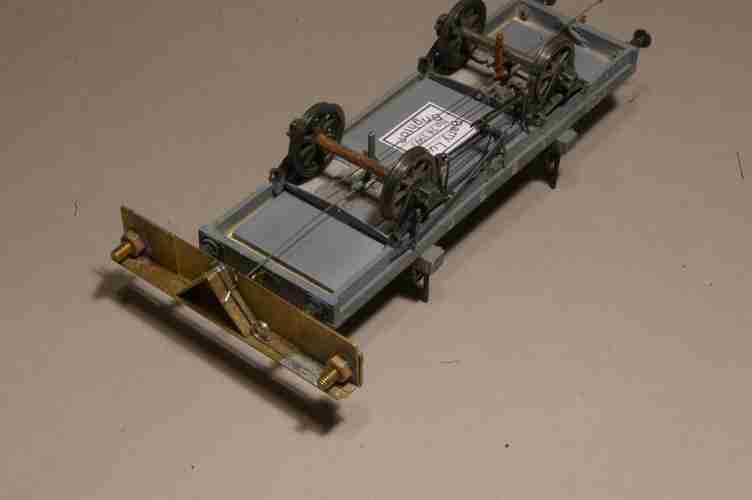 The most ingenious of the jigs is the one designed for fitting the couplings to the vehicles -
1. make sure it is fitted at the correct angle when viewed from the end of the vehicle
2. make sure it is the right distance from the buffer heads
3. make sure it is central in the horizontal plane
4. make sure it is the correct height
5. make sure it has enough clearance above the axle, so that it can drop far enough to uncouple when actuated
2. make sure it is the right distance from the buffer heads
3. make sure it is central in the horizontal plane
4. make sure it is the correct height
5. make sure it has enough clearance above the axle, so that it can drop far enough to uncouple when actuated
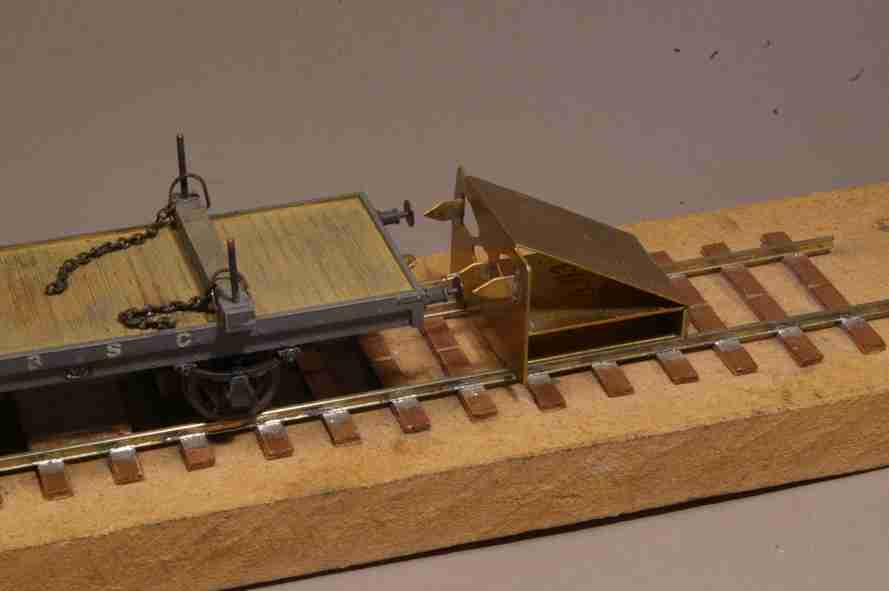
The jig gets the first two of these correct, and helps with the third and fourth, but not the fifth. It goes without saying of course, that the jig itself needs to be made accurately in the first place, as per the instructions.
The jig sets the coupling relative to the buffers, so if the buffers are at the wrong height or not equal lengths, or the wagon does not run square (ie the wheels are not central to the body), then problems are likely as described below.
 Once the coupling is fitted, the height jig can be used to check its correct position. However, I have found that the addition of the dropper armature adds enough weight to the AJ to lower it by about 0.5mm, so the height needs to be checked, after the armature is added.