


Last updated January 2026
The Shunting Puzzle
Plumpton Green has a number of operational challenges, with a lengthy and complex sequence of movements which can take 5 or 6 hours to complete. Combined with the operation of the interlocked lever frame and block bells it has plenty of interest to keep a team of six operators entertained for a weekend exhibition.
Ouse Wharf on the other hand is a very simple layout with none of the challenges associated with Plumpton Green. Would there be enough to keep us interested for a weekend show, or would we be bored silly after a couple of hours? With this in mind, we have devised a ‘shunting puzzle’ to make make operation more interesting, more challenging -
Here is how it works.
The basic sequence is as follows:
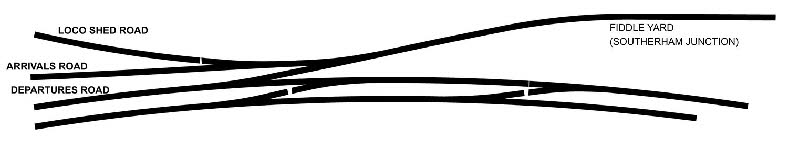
The sequence starts with a few wagons distributed around the wharf, and a train of four or five wagons coupled together in the ‘departures’ road. The remaining wagons are on cassettes in the fiddle yard.
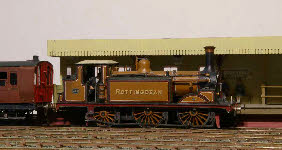
A train of four or five wagons plus brake van is propelled from the fiddle yard (aka Southerham Junction) by a mainline engine.
The brake van is berthed in the loco shed road, and the wagons are shunted into the ‘arrivals’ road.
The engine then couples to the wagons in the ‘departures’ road, shunts them to the loco shed road to couple to the brake van.
This train is then hauled back to Southerham Junction.
The yard shunter then distributes the wagons around the wharf-
This is how the shunting puzzle works:
There are two operators -
The cards are split between those wagons in the fiddle-
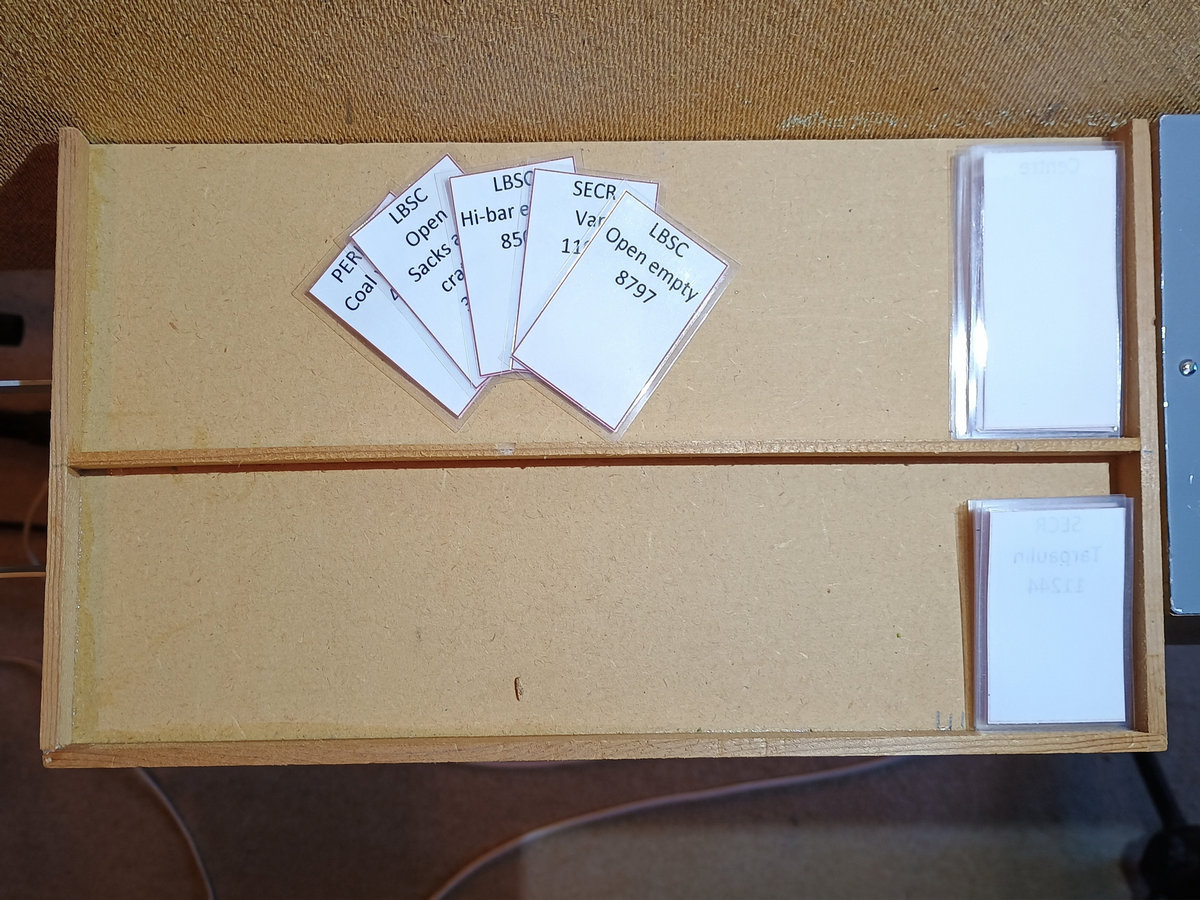 When a train arrives, the wagon cards for this train are passed from the fiddle-
 The wharf operator randomly selects five cards from the location pack (there are two for each location so not necessarily five different cards). These are placed in the rack (photo left).
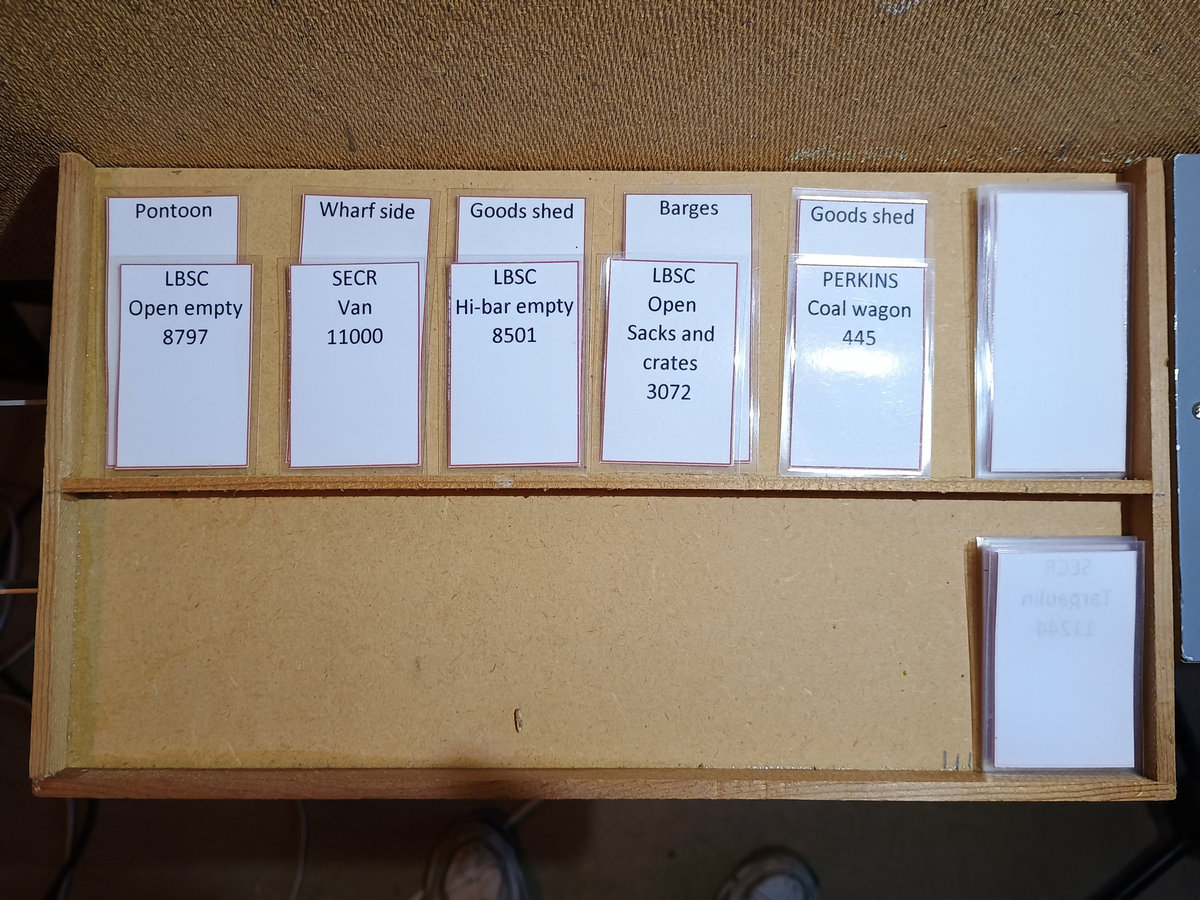 The cards for the arrivals train are then randomly placed on top of the location cards (photo right).
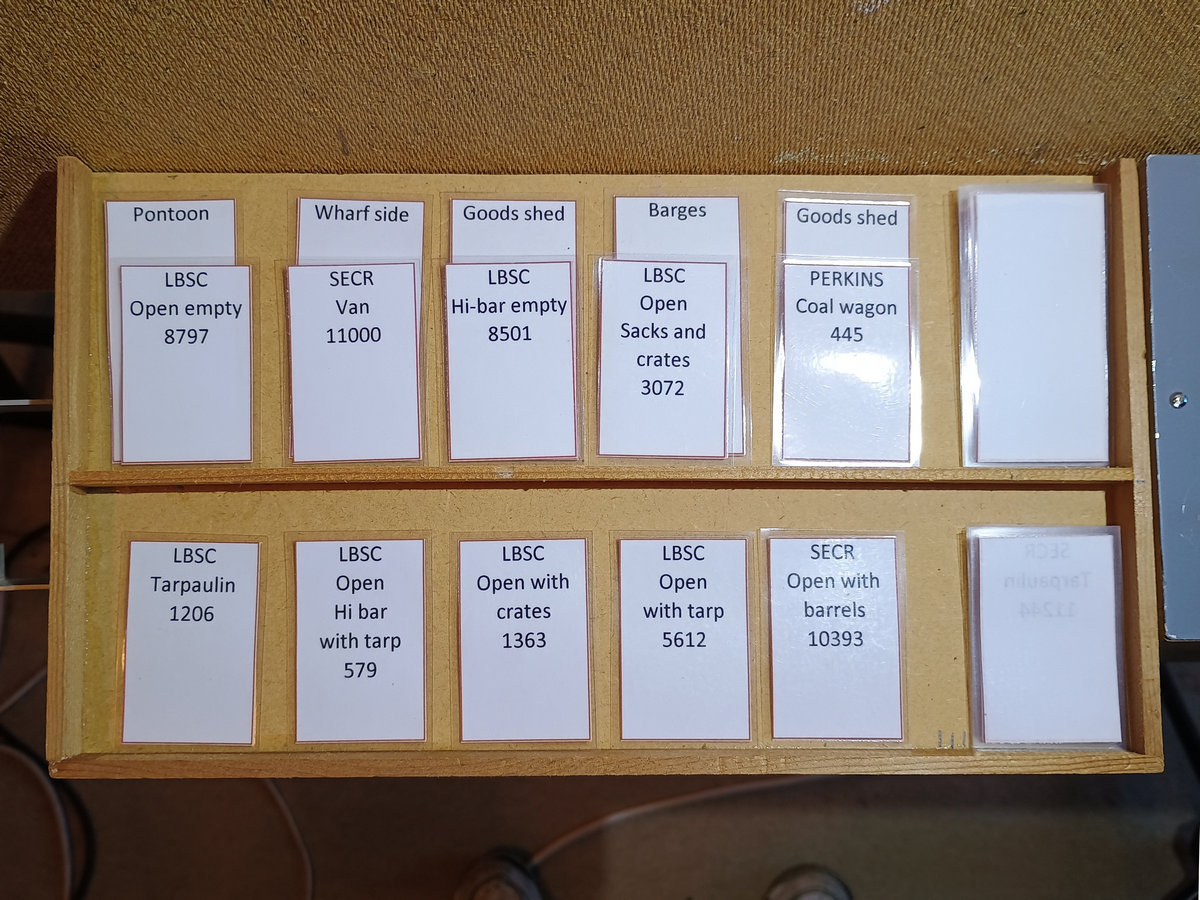 From the pack of cards for the wagons already on the wharf, the wharf operator randomly selects four or five to make up the next outgoing train (photo left).
When the outgoing train has been assembled and hauled back to Southerham Junction, these cards are passed from the wharf operator to the fiddle yard operator.
The task is to efficiently distribute the incoming wagons to their randomly designated locations, and to assemble the randomly selected wagons for the outbound train. It’s not easy, because the run-
- Easier to assemble the outgoing train first?
- More efficient to shunt incoming wagons whilst also assembling the outgoing train?
- There are two shunting engines on the wharf – is it easier to use just one, or both?
- if this is too easy, the next stage is to assemble the departing wagons in the order given.
I’m happy to say that this kept us occupied for the weekend, in between talking to visitors about the layout.
July 2024
Much of July was taken up with building a new ‘power box’. As a DC operated layout we need various voltages on the layout as follows:
5V AC for lights
15V AC for motor operation (turnouts, gates, cranes etc)
21V DC for relays
15V AC to power two loco controllers
This is exactly the same as for Plumpton Green and all previous layouts, except that only two controllers are required (as opposed to four for Plumpton). The Plumpton box works perfectly well for Ouse Wharf, but it is quite large, and is the one thing that was a bit of a squeeze getting into the car with all the other stuff. The new one is about half the size, and half the weight!
We’ve also been working on more scenic effects:
Improvements to the river surface, done rather hurriedly at the Bluebell show,
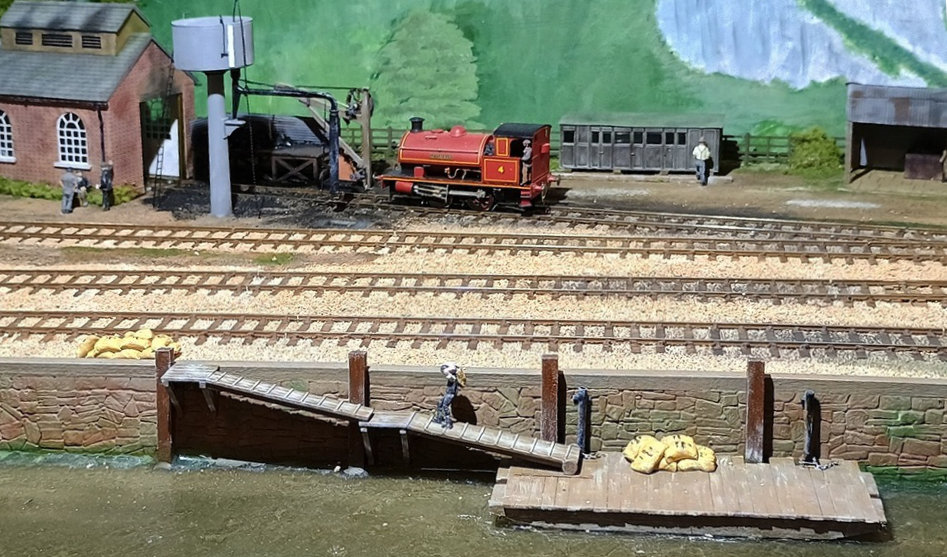 Finishing the pontoon/landing stage (photo left) and
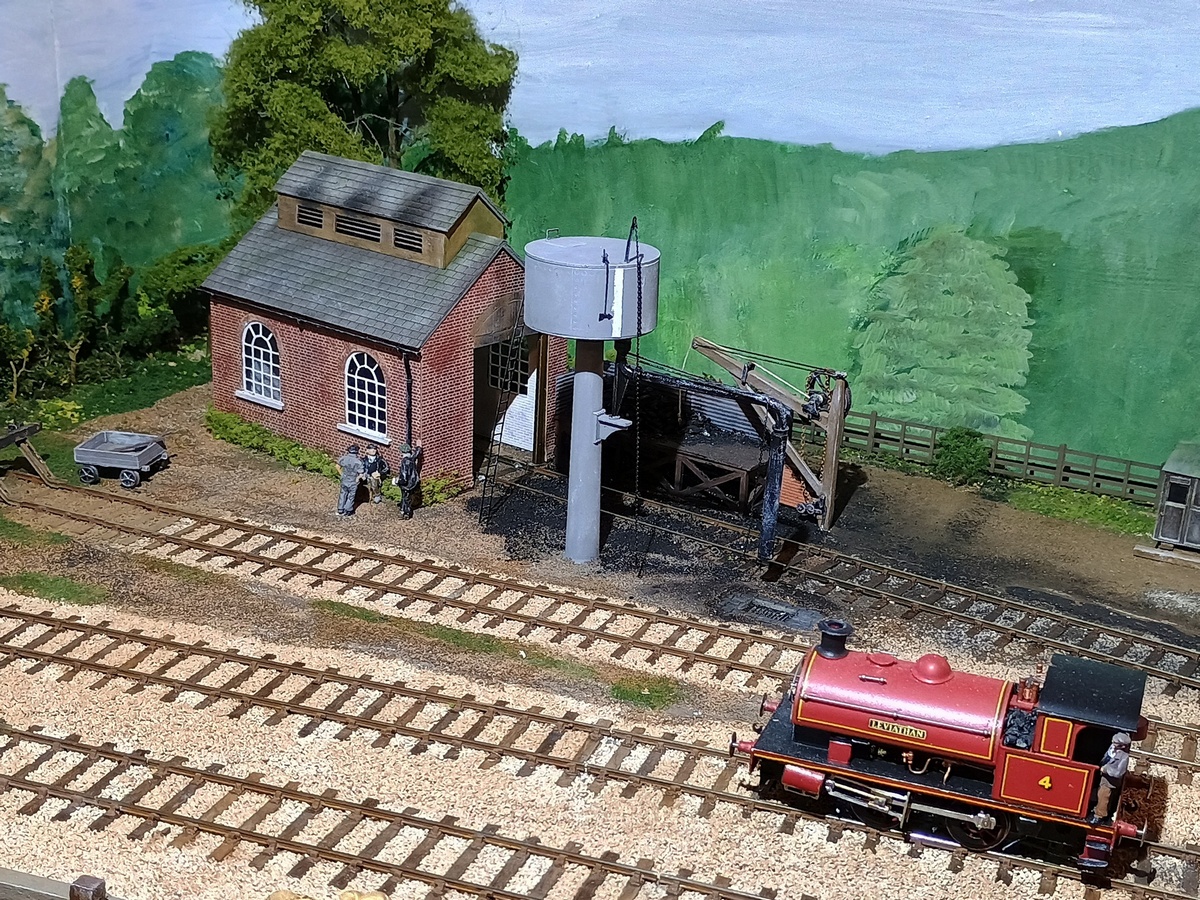 Making and installing the water tank adjacent to the coaling stage (photo right).