

We have very few photographs of West Chiltington. Here they are:

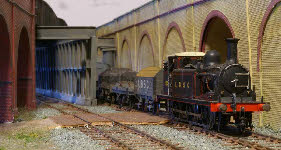
Left - E1 ‘Strasbourg’ leaves West Chiltington with a short coal train for Storrington.
 Right -
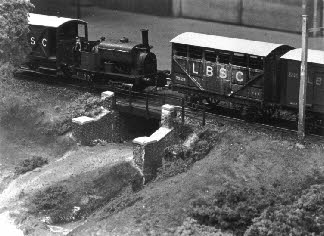
 a scratchbuilt Manning-Wardle shunting a few wagons over the cattle creep (modelled on one at Culver Junction near the Bluebell line).
 Left -
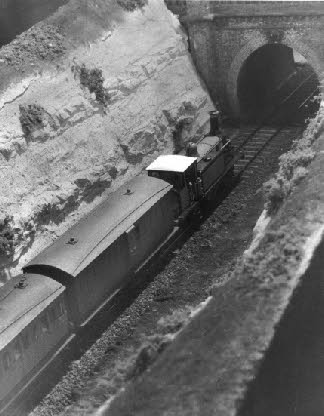
 Terrier no 678 (ex ‘Knowle - now preserved on the Kent and East Sussex Railway) with a motor-train coach, leaves the tunnel, heading into the station. The tunnel mouth is based on the south end of the Kemp Town branch tunnel.
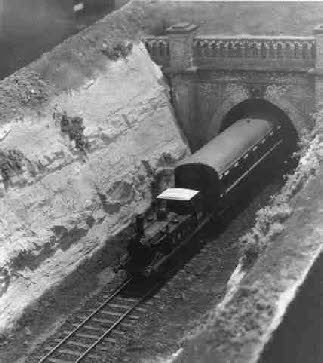
Right - a train of Billinton six wheel coaches behind D1 ‘Rottingdean’ heads into the tunnel.
 Left -
 a rather grainy image of the station building, modelled on the (still existing) Burgess Hill ticket office.

Left -
 Right -
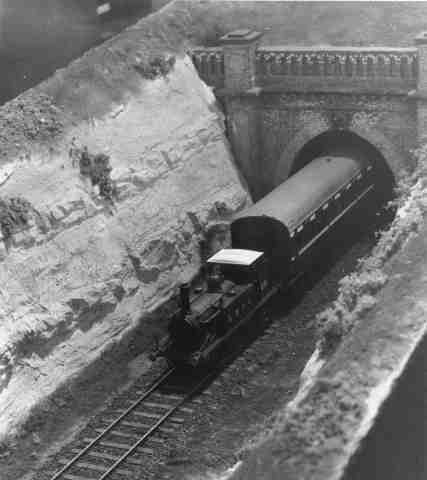 Left -
Right -
 Left -
 Right -
 Left -
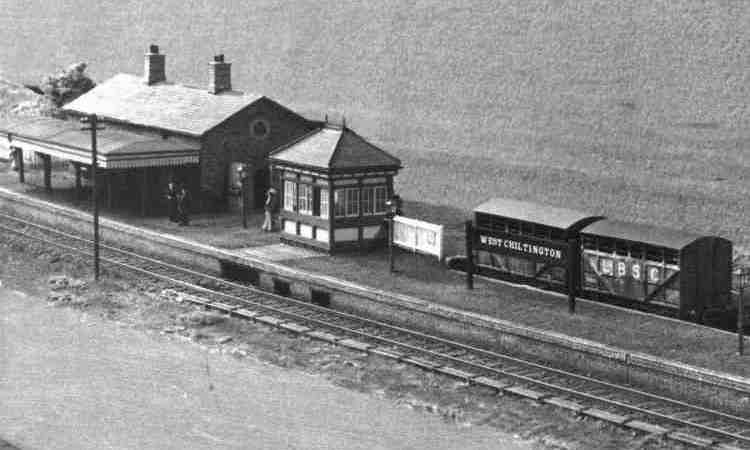 Right -
Left -
 Right -
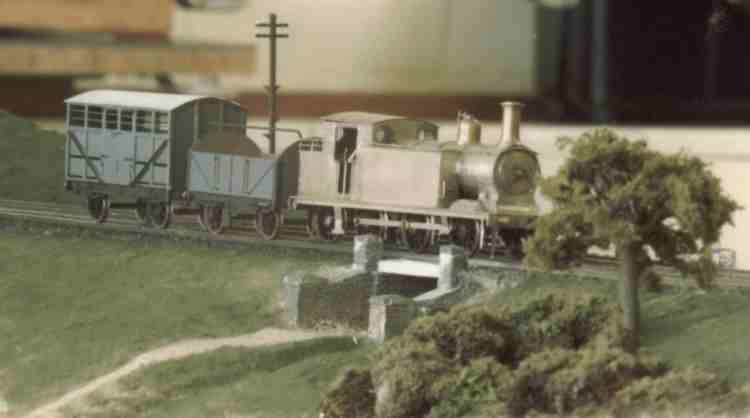 Left -